Arduino Controlled LED Lightshow
Arduino LED Lightshow details:
What is an Arduino?
Arduinos are versatile, open-source microcontroller boards used for building and prototyping electronic projects. They come equipped with a simple yet powerful microcontroller, which can be programmed to perform a wide range of tasks, from controlling lights and motors to reading sensors and managing complex systems. The Arduino platform includes an easy-to-use Integrated Development Environment (IDE) that allows users to write and upload code to the board. Its flexibility and accessibility make it a popular choice for hobbyists, educators, and engineers to create interactive and automated systems, develop prototypes, and learn about electronics and programming.
What is programming?
A programming language is a formal set of instructions and rules used by developers to communicate with computers and create software. It provides the syntax and semantics needed to write code that tells a computer how to perform specific tasks. C++ is a versatile and powerful programming language that extends the capabilities of its predecessor, C, by adding object-oriented features such as classes and inheritance. It is widely used in various domains, including system/software development, game programming, and performance-critical applications. C++ allows for efficient manipulation of hardware and memory, making it suitable for developing high-performance applications, including operating systems, real-time simulations, and complex algorithms.
How to control LED Lights:
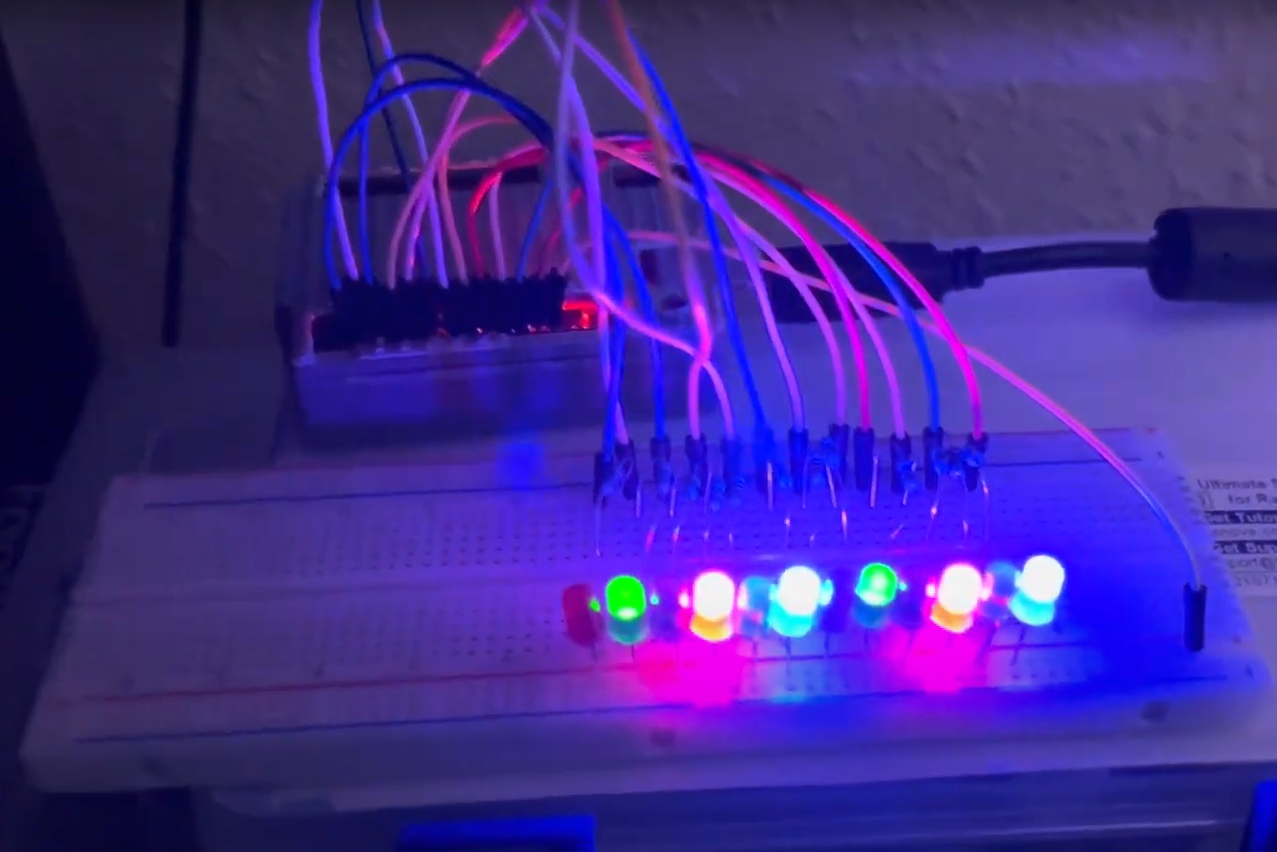
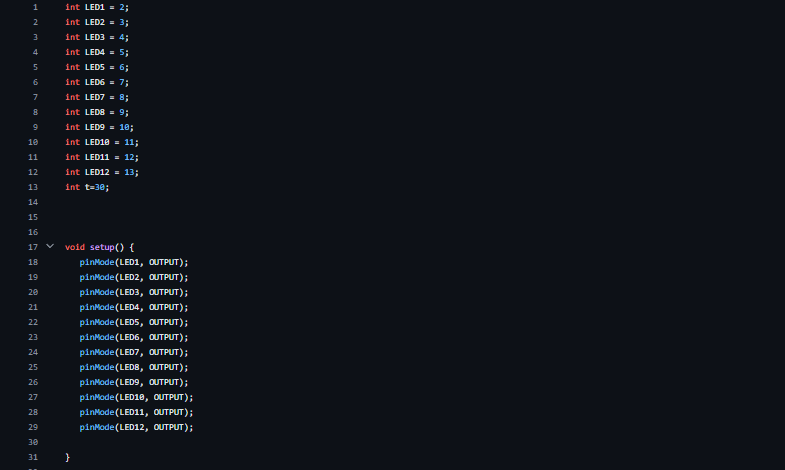
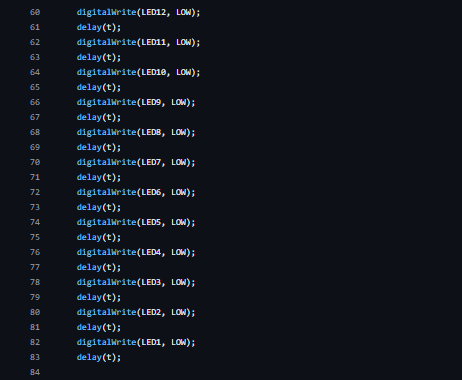
To control LED lights in a pattern using an Arduino and a breadboard, start by connecting the LEDs to the breadboard and wiring them to the Arduino. Each LED's positive (long) leg should be connected to a digital output pin on the Arduino, while the negative (short) leg goes through a current-limiting resistor to the ground rail on the breadboard. In the Arduino IDE, write a sketch that sets the desired digital pins to OUTPUT mode and uses digitalWrite() to turn the LEDs on and off in the desired pattern. Include delays between changes using the delay() function to control the timing of the pattern. Upload the code to the Arduino, and the LEDs will light up according to the specified sequence, creating dynamic visual effects.
Project information
- Category Programming
- Company Arduino
- Project date 17 December, 2023
- Visit Website


